How to set up Products
1. Go to Categories List, click “Products”
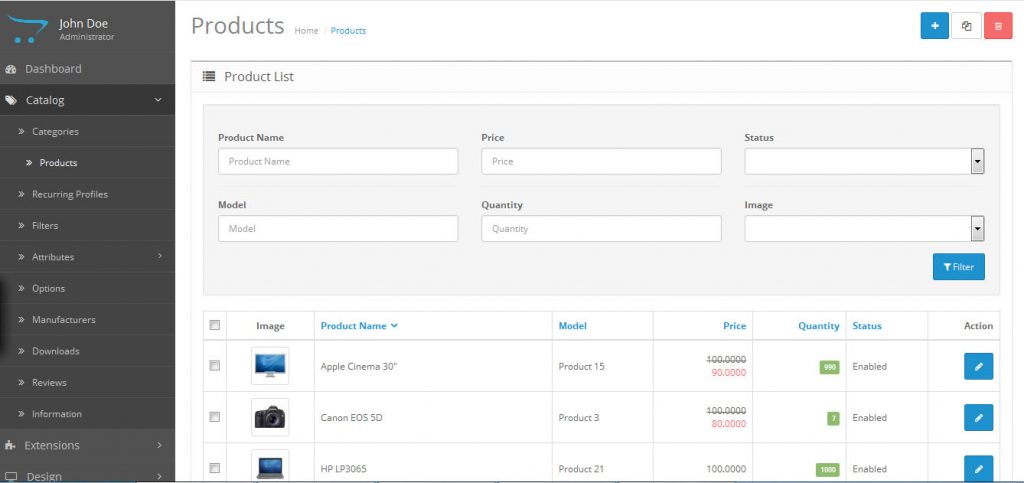
2. At the Products page, Click the “+” button which is at the top right hand corner.
General:
The format of the General tab is identical to the General tab when
creating a product category, with the addition of the Product Tags
feature:

- Product Name
- Meta Tag Description: A summary to describe the product page to search engines.
- Meta Tag Keywords: Similar to meta tag description, but asks for a single keyword to describe the product.
- Description: Text that will describe this product on the product page, to be viewed by the customers in the store front of the shop.
- Product Tags: A tag to describe the product to
the customers. If a customer types in this tag in the search box found
in the header, the product will be displayed in the search results.
Data:
The data tab includes all the product criteria that will be included on
the product page in the store front for customers to view:
- Model: create a model number for the product using a combination of letters and numbers. (required)
- SKU (stock keeping unit): a random code for the product.
- UPC (universal product code): the product’s unique barcode.
- Location: where the product is located.
- Price: set a price for the product.
- Tax Class: select a tax class category on this
product that was made Settings > Localisation > Tax Classes. This
will apply the tax in the checkout for the product. Select “None” if
taxes will not be applied to this product. - Quantity: The total amount available in the store for this specific product.
- Minimum Quantity: the minimum amount of product a customer must reach to add that product to their Shopping Cart.
- Subtract Stock: “Yes” will subtract stock from
the quantity of the product (Ex: If there are 100 computers, and a
customer buys 2 computers, Subtract Stock will change the quantity to
98). - Out of Stock Status: select “Out of Stock”, “In
Stock”, “2-3 days”, or “Preorder” as the message shown on the product
page when the product’s quantity reaches 0. - Requires Shipping: If the product requires shipping, select “Yes”. If not, select “No”.
- SEO keyword: create a keyword for search engine
optimization of this product. It will be seen in the URL of the product
page. Therefore, the keyword created must be unique for every product. - Image: clicking “Browse Folders” will lead the administrator to the Image manager to upload a new image.
- Date Available: the date when this product will become available for purchase.
- Dimensions: enter the length by width by height of the product if there are dimensions to include.
- Length Class: determines the metric units for the dimensions above.
- Weight: Enter a number for the weight.
- Weight Class: Specify the units of weight for the number entered into “Weight”.
- Status: Enabling makes the product publicly
available in the store. Disabling allows the product to be edited in the
administration , but hides it from the store front . - Sort Order: When the product is sorted in a list,
a number assigns it a priority. A product with a sorting order or 2
will be placed higher than a product with a sorting order of 3, but
lower than a product with a sorting order of 1.
link:

- Manufacturer: Selecting the product’s
manufacturer will place the product on the manufacturer’s page. Select
manufacturers can be viewed on the home page if added to the manufacturer banner. - Categories: Check the categories that the product will be placed into. The product will be listed on the category’s page in the store.
- Filters: Select the filters to be applied to this product if your Filter module is enabled. See Filters for more information.
- Stores: Check which stores will sell this product. Clicking “Default” applies if there is only one store to be managed.
- Downloads: If the product is a downloadable product, select the file that will be included with the purchase.
- Related Products: In this space, type any related
products for this product. These products will be displayed on that
product’s page for the customer to view. When typing in the space, a
drop down box will appear with related products.
| Having a related products section on product pages is beneficial not just for SEO, but the usability of the website as well. Since many eCommerce websites have dozens, hundreds, or even thousands of products, it can be difficult for search engines to crawl and index them all. Including links to related products on product pages not only ensures |
Attribute:
Attributes are the specifications that are compared between products in the Product Comparison. Attributes are
originally created under Catalog > Attributes. In Catalog >
Products, selecting an attribute will assign an attribute directly to a
specific product. If OpenCart was just installed, it will be blank.
Press “Add” and a form below should appear. Fill in the blanks with the
attribute name and information, and click “Add Attribute”.
For example, if a customer wanted to compare monitor size of a computer
monitor with another product with a monitor, we could create an
attribute for the product. Under “Attribute” we would call it “Monitor
size”; in the Text box area we would type the dimensions of the monitor
of that specific product, and click “Add Attribute”. See Attributes for a more in depth explanation of attributes.
Option:
Options are extra selections that a customer can make on the Product
page before adding the product to the shopping cart. Options are first
created under Catalog > Options, then assigned to a product that is
created under Catalog > Products.
One example of an option is “size”. Begin by typing “size” into the
search box. Size should appear in a drop down box. Select it, and click
on the green add button. On the right, click “Add Option Value”.

The Option Values were previously created in the Options section
under Catalog. In this section any option can be added, such as
“Large”. To subtract from the quantity every time a product is purchased
with this option, you can select “Yes” under “Subtract Stock”. An
increase of price can be added to the option value, points, and weight.
Click “Add Option Value” to assign that information to that specific
option value. You can click “Remove” to erase the option value. See Options for a more in depth explanation of the options feature.